To make creating your campaign as easy as possible, we have prepared a campaign guide to guide you through the campaign setup.
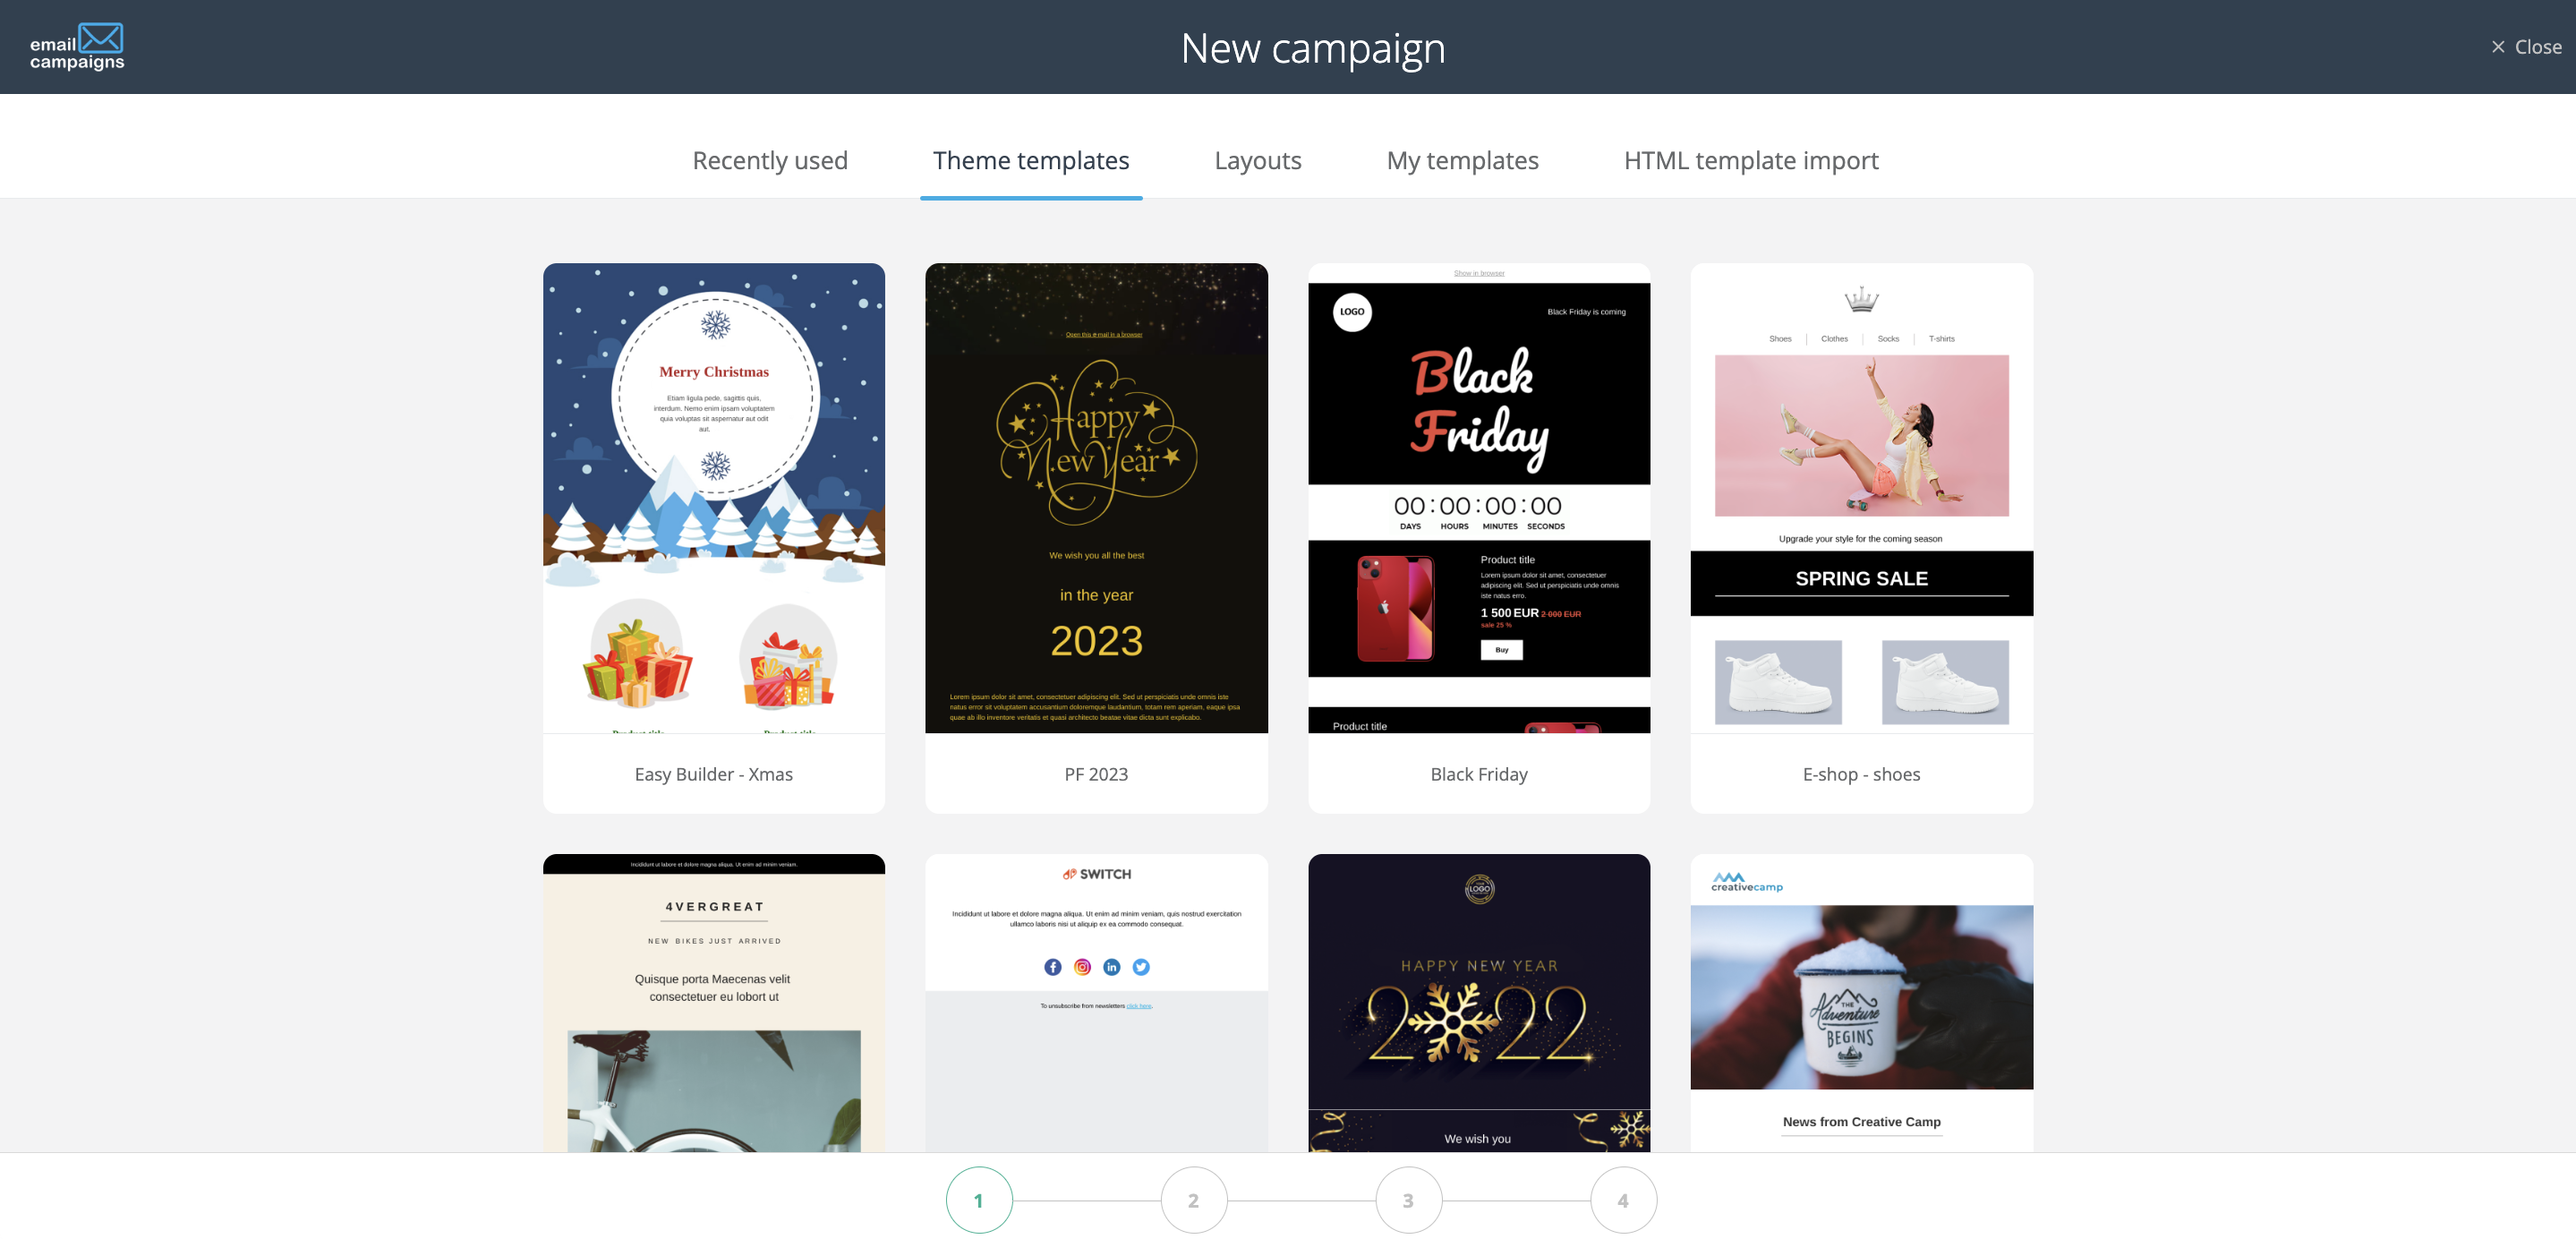
Step 1 (template selection)
When creating a new campaign, you have the choice of either a standard or automatic campaign. A standard campaign is the most common way to reach your recipients. Below you have a choice of templates depending on the content you want to work based on. You can choose from theme templates, Layouts, My templates (customized template) and if you already have your template, here you have the option to upload your HTML template together with images from one ZIP archive.
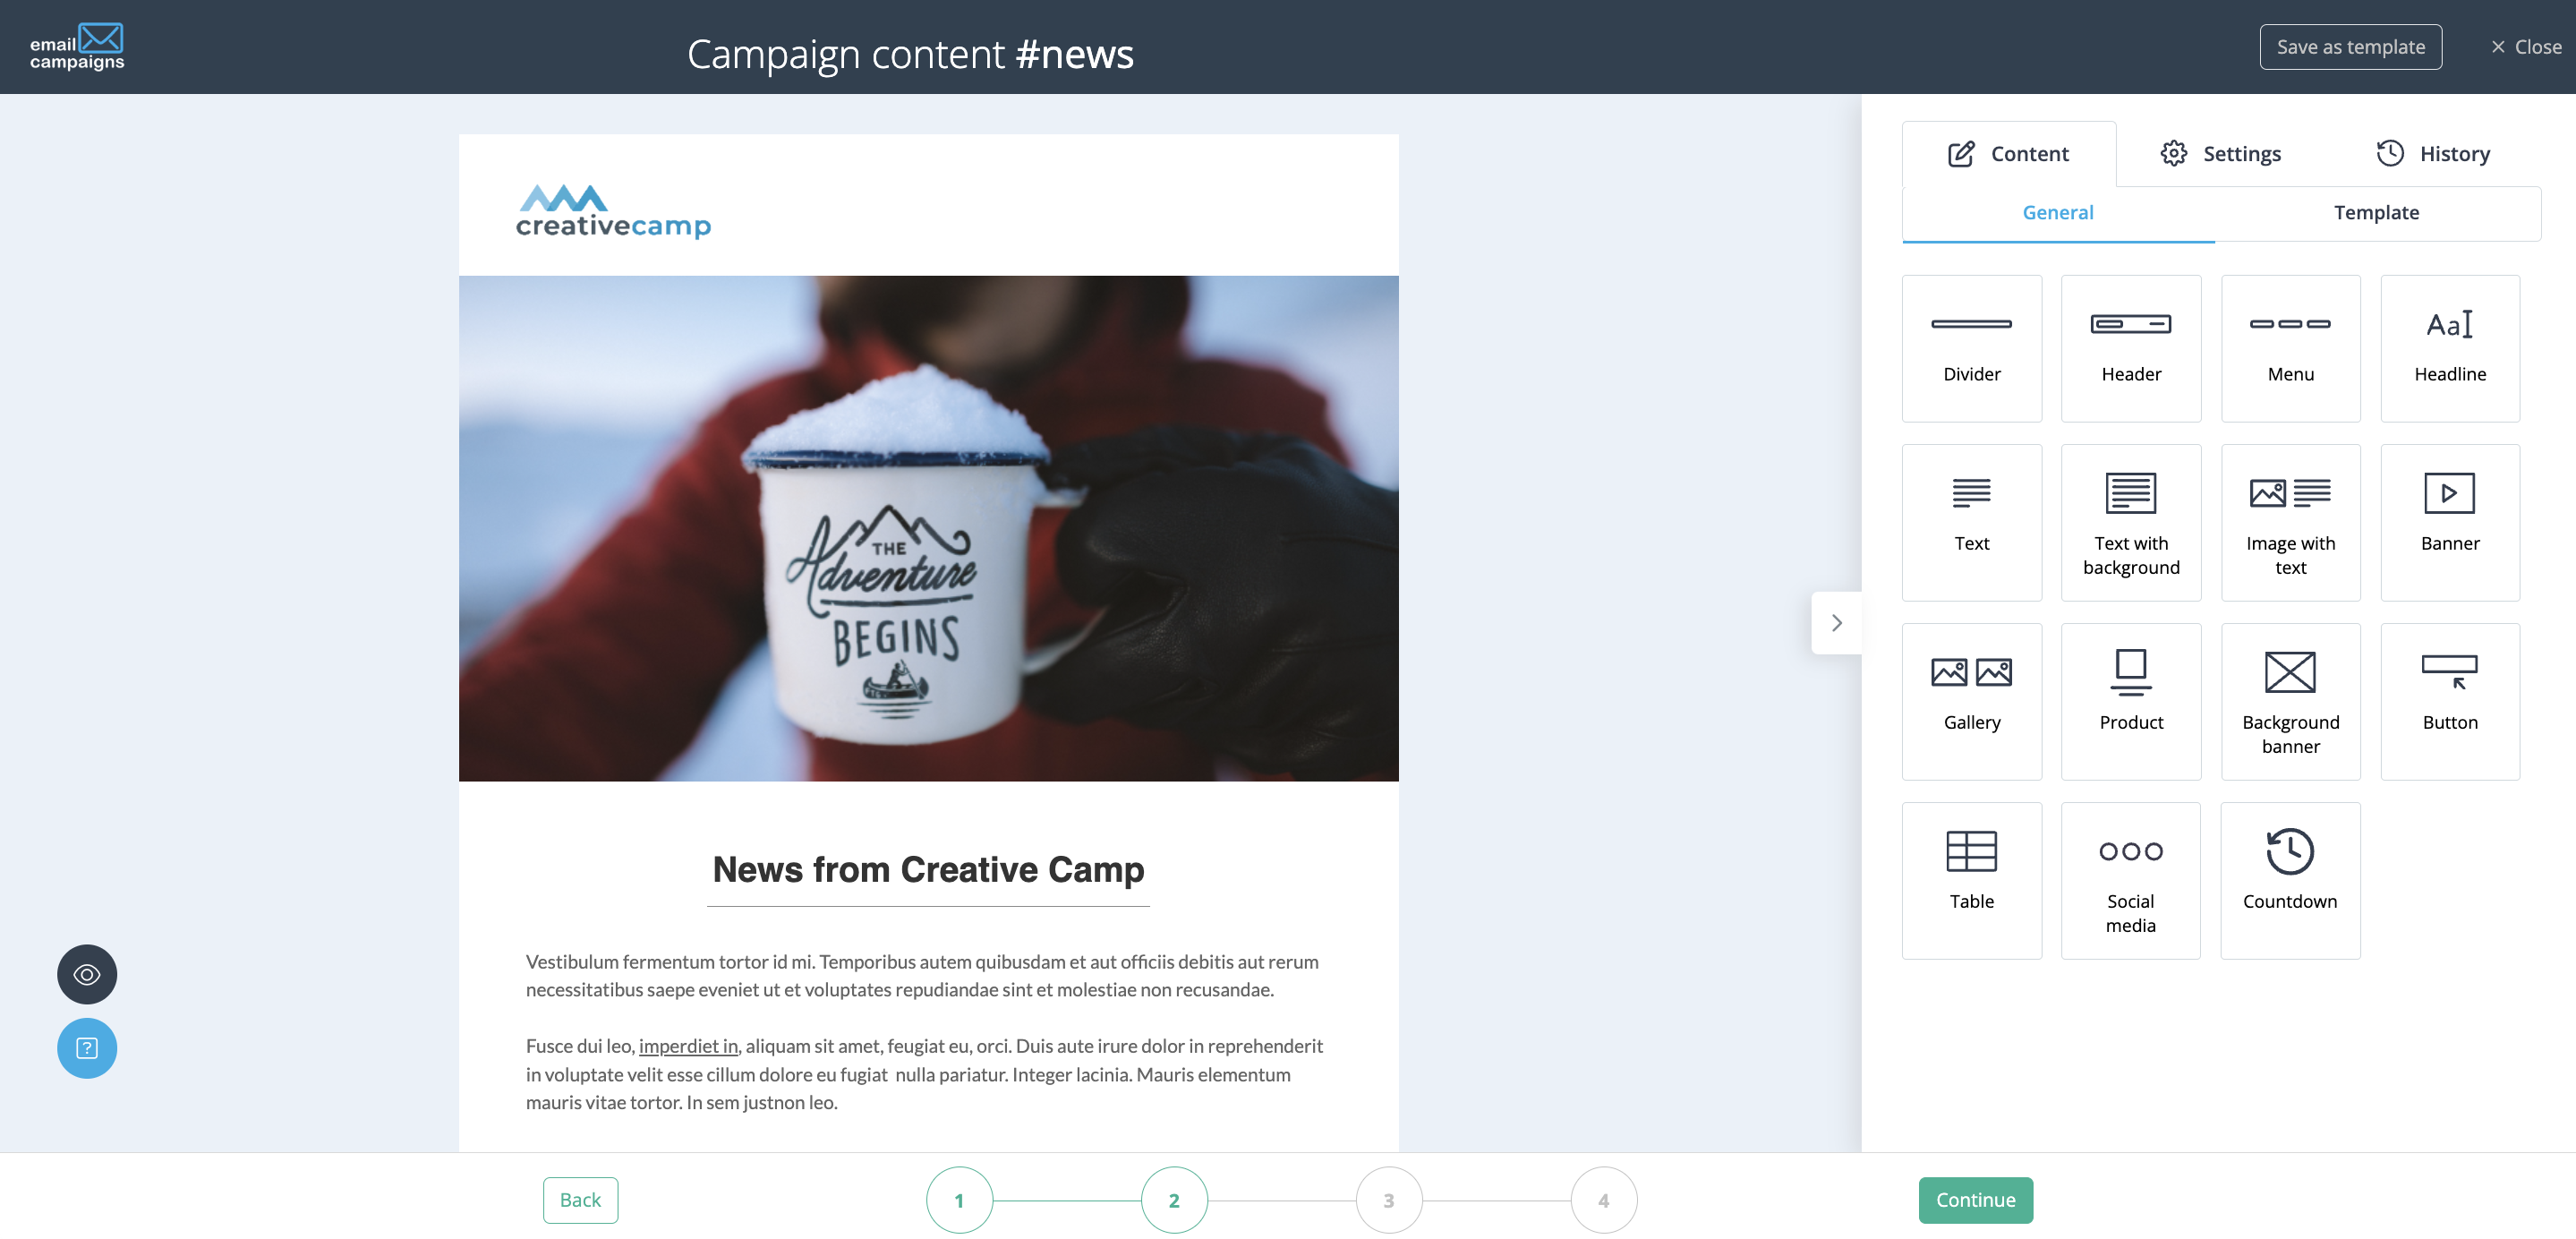
Step 2 (campaign content)
In the next step, you can play more with the actual visuals of your template and customize it to your needs. In this simple drag&drop editor you can change the structure of the prepared content such as header, menu, text with background, click-through button and much more to improve the content of your email to your preference. You also have the option to set the campaign addressing and customize the template, such as setting the text and colors or the template alignment. At the same time, you can also make more detailed adjustments related to a specific block and freely modify its structure and indent settings.
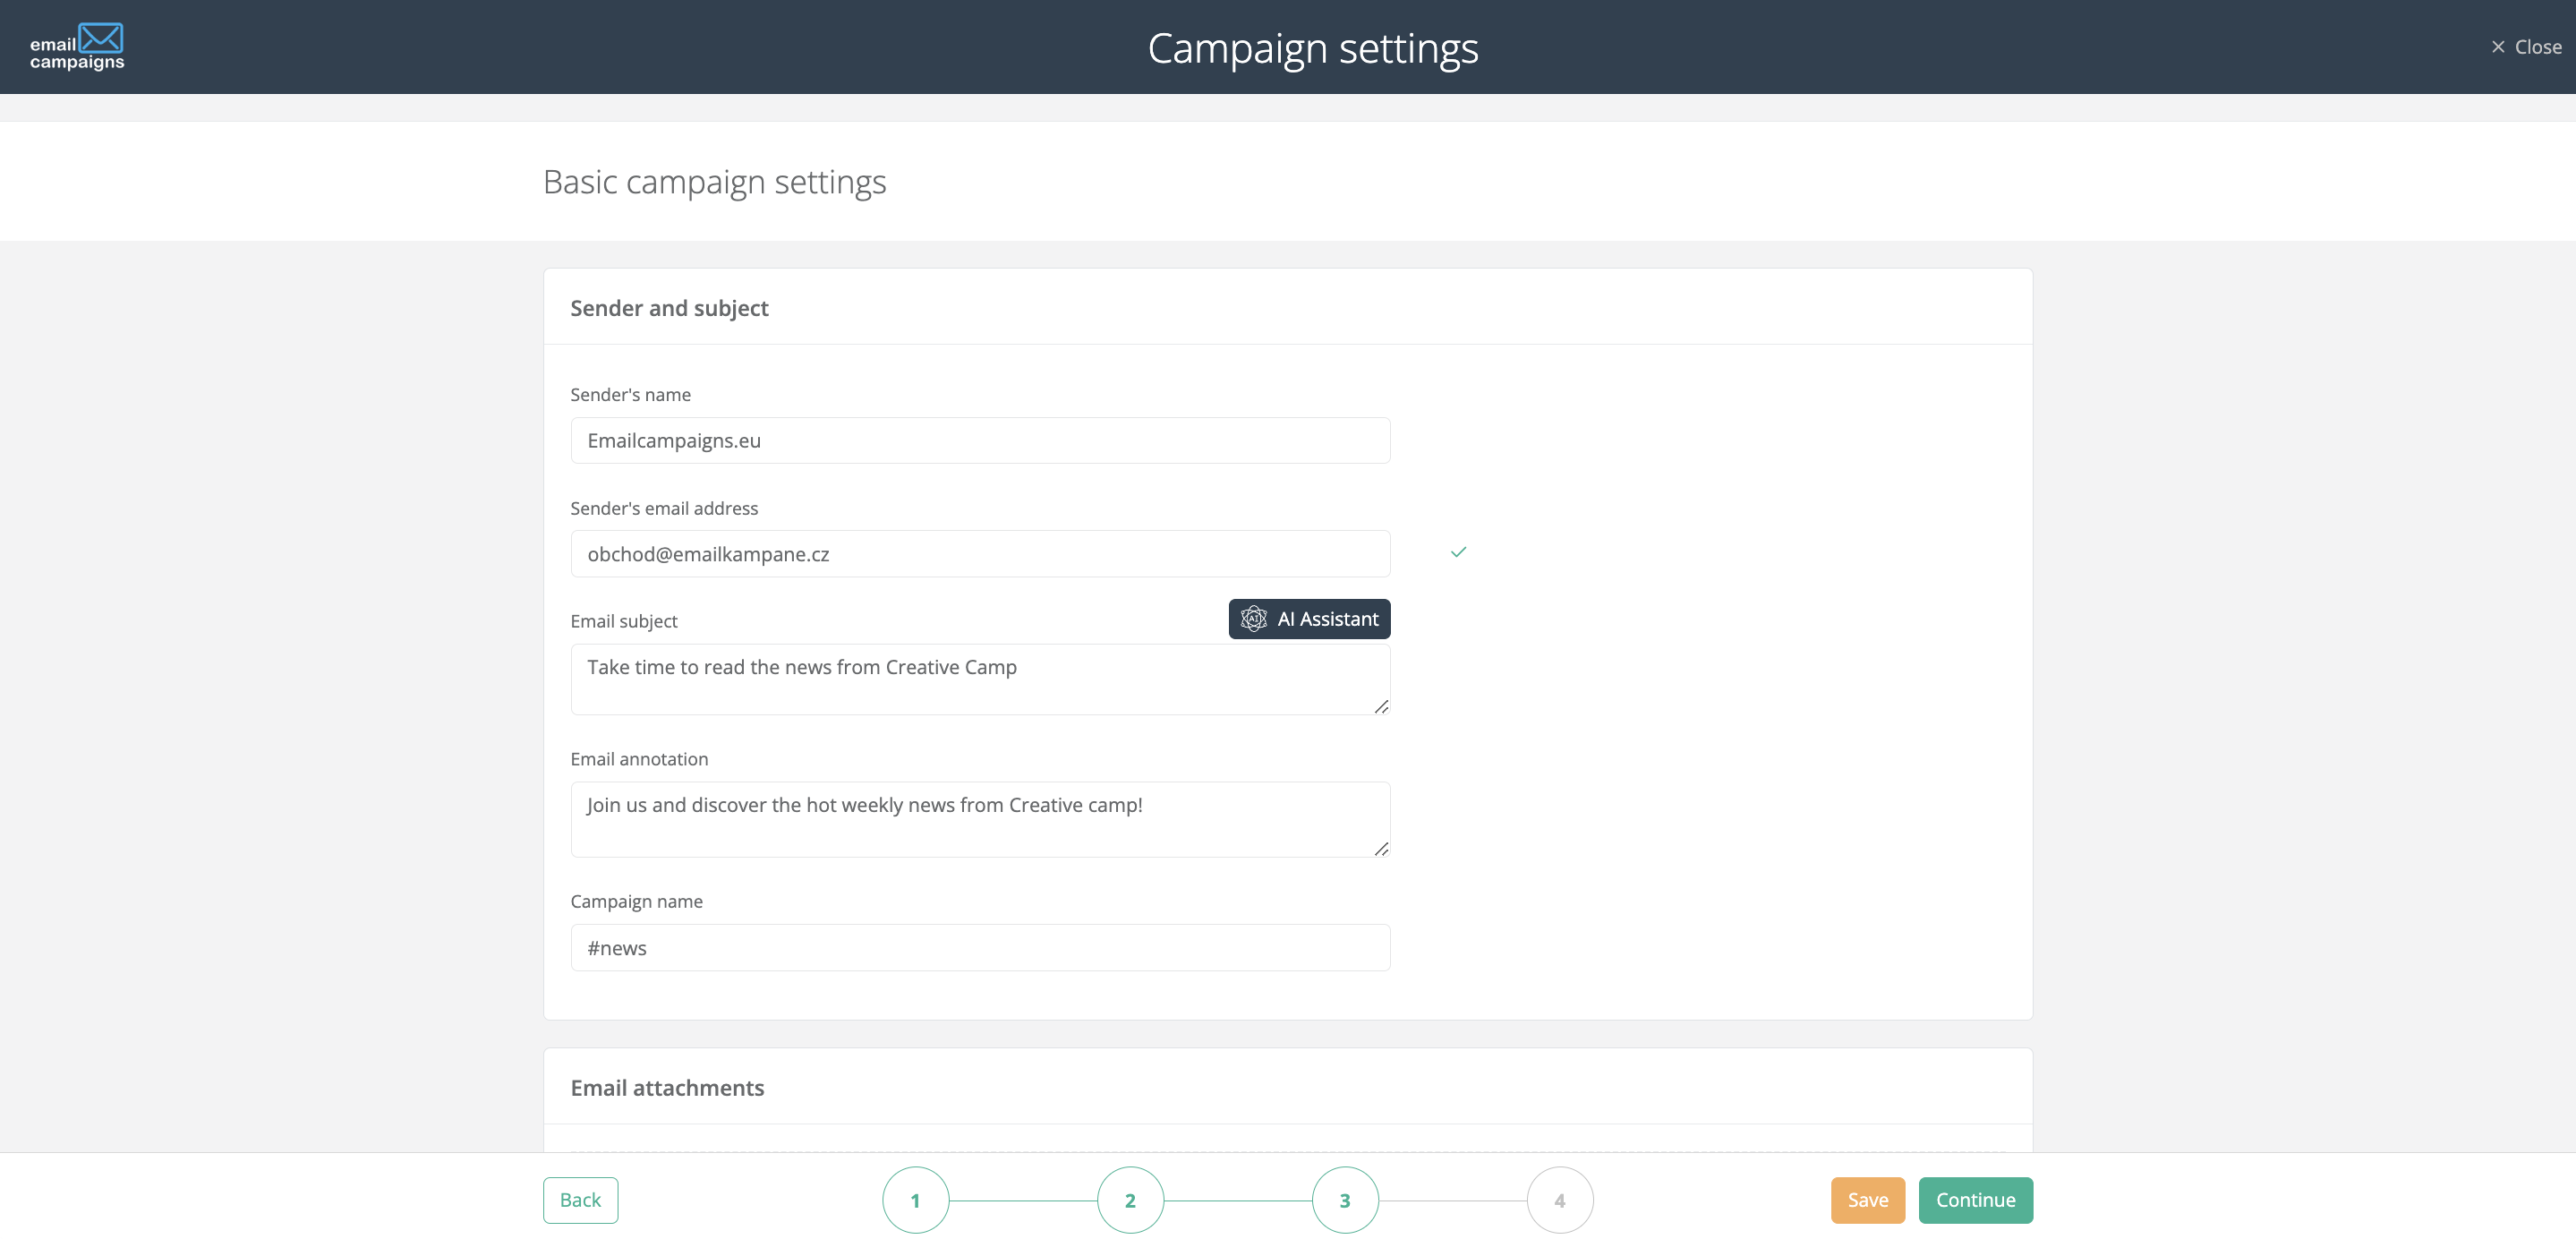
Step 3 (campaign setup)
Here you set all the basic parameters of the created email campaign, such as the sender’s name or email, which can be checked by our AI assistant. You can create a subject line and pre-header for the email, which our AI assistant will help you with based on the content of your campaign (learn more about how to have your email subject line and annotation designed), then you have the option to add an attachment to the email, and finally you choose the contact list of recipients you want to send the created campaign to.
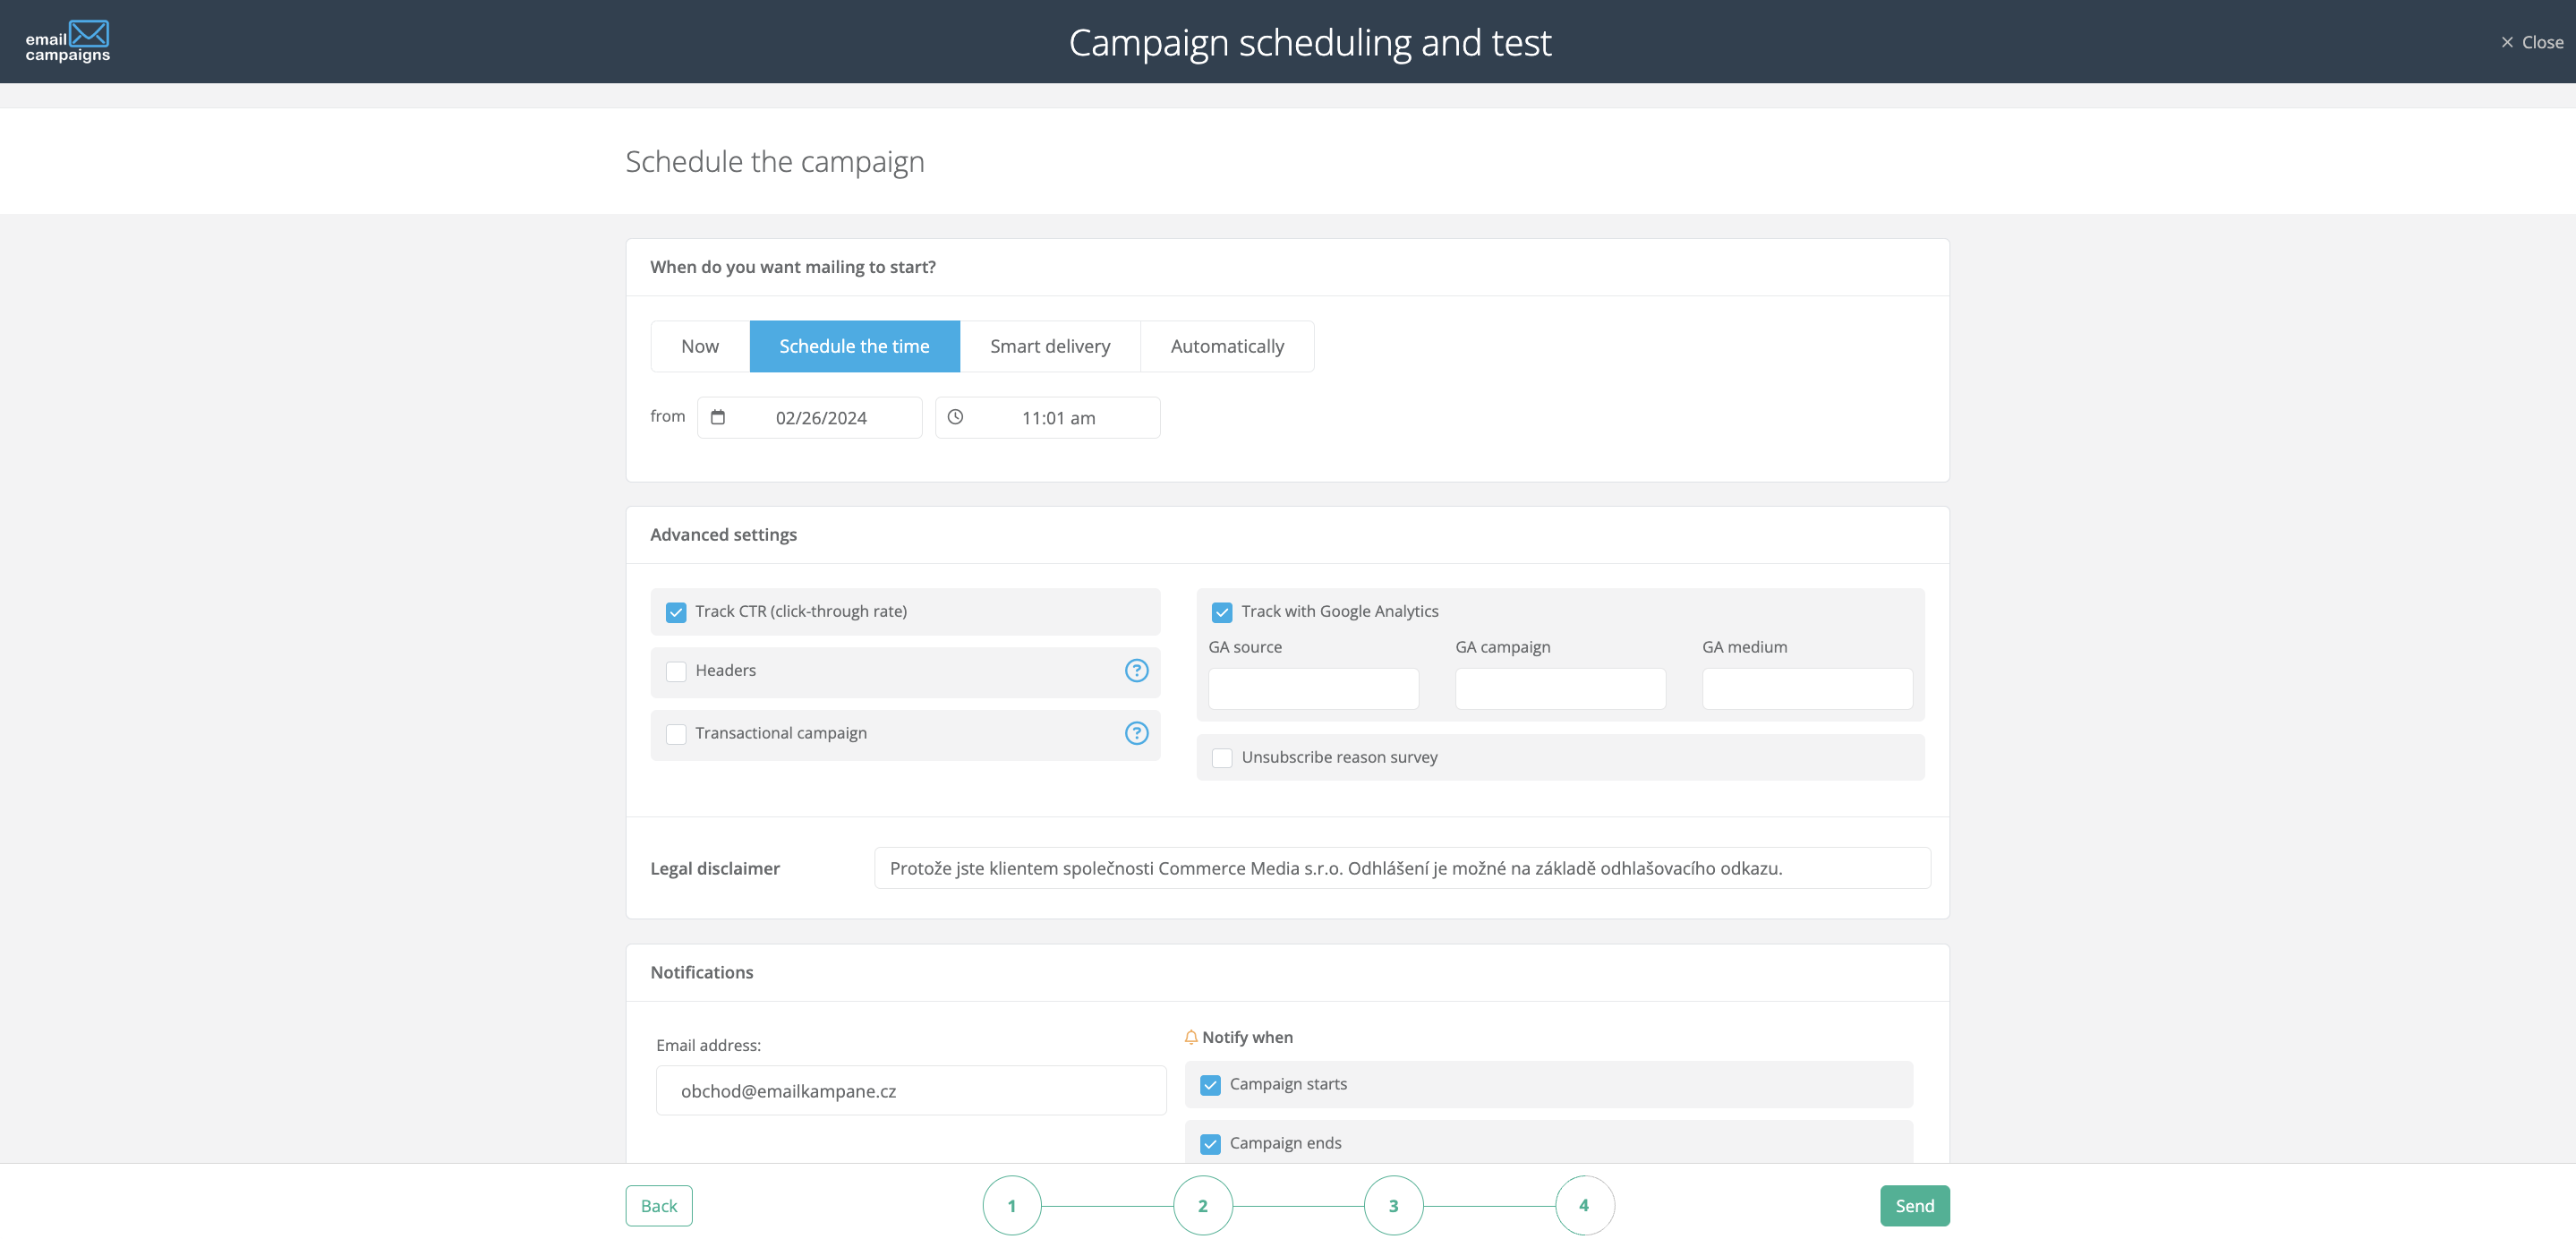
Step 4 (mailing planning and test)
In the last step, in addition to setting the time or date of campaign delivery, you can choose the automatic campaign function. The automatic campaign allows you to send an email automatically, for example, a newly inserted email, a contact’s name day or birthday, or an abandoned cart notification.
You can also manage advanced click-through or Google Analytics tracking settings in this step. Additionally, you can check links and SPAM to see if your campaign has content issues. Finally, in this step you can check the appearance and all the details of the email to see if you missed anything. To check and see if your campaign is displaying correctly, you can send the campaign to your own inbox in the Design testing section of this step.