
DNS records in email marketing are designed to increase the credibility of the emails you send. They help to ensure that your email is actually coming from you and not from a scammer. Through DNS records, it is possible to reduce the chances of your emails ending up in spam.
Setting up DNS records correctly is essential to the success of your email marketing. Invest a few minutes in setting them up and make sure your emails arrive where they are supposed to.
Login
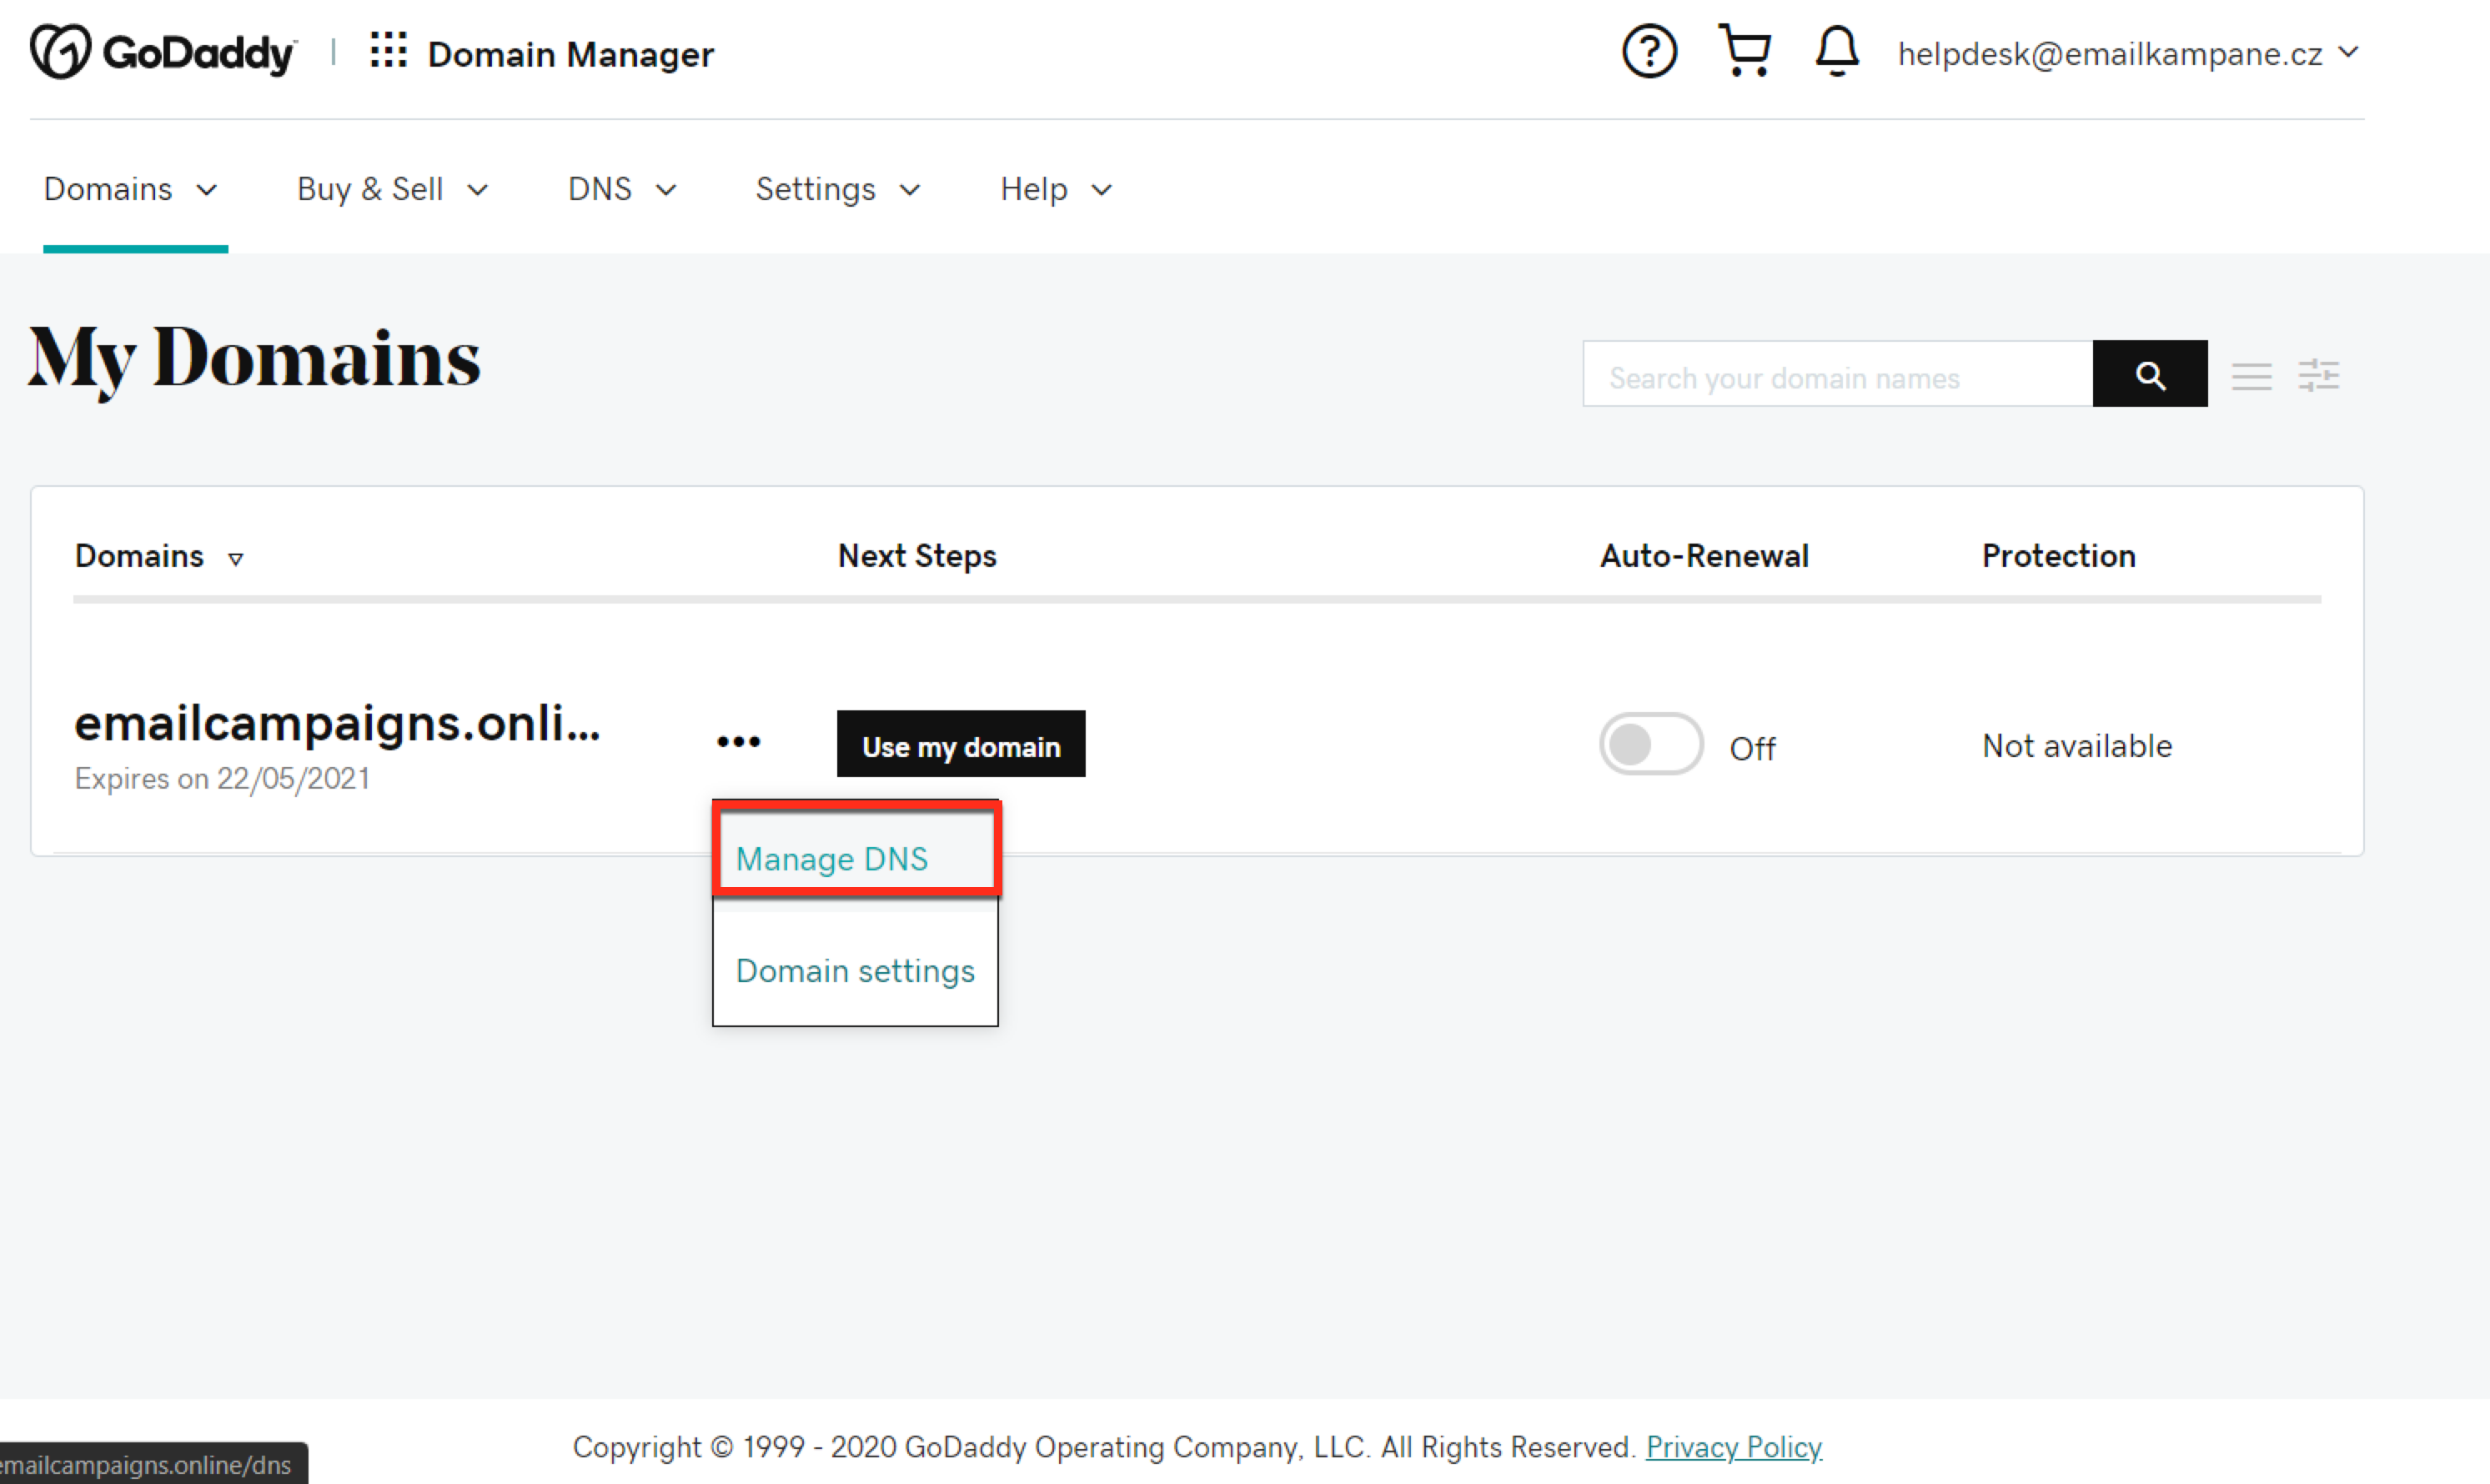
Log in to your GoDaddy account. Then go to My account and click Domains. In the Domains section, click Manage DNS for the domain you want to edit.
Adding record
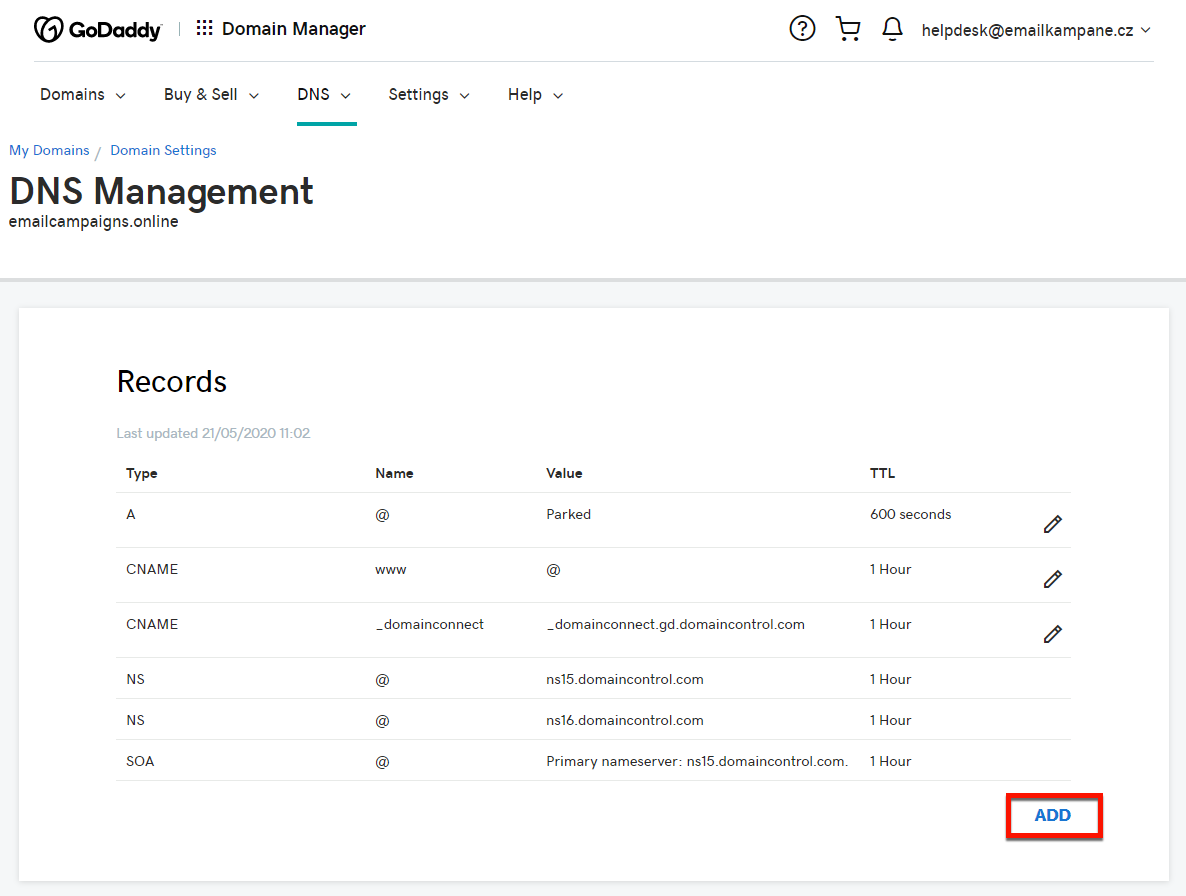
Opens the DNS Manager page with information about existing DNS records. Navigate to the Records section and click add a new DNS record.
SPF
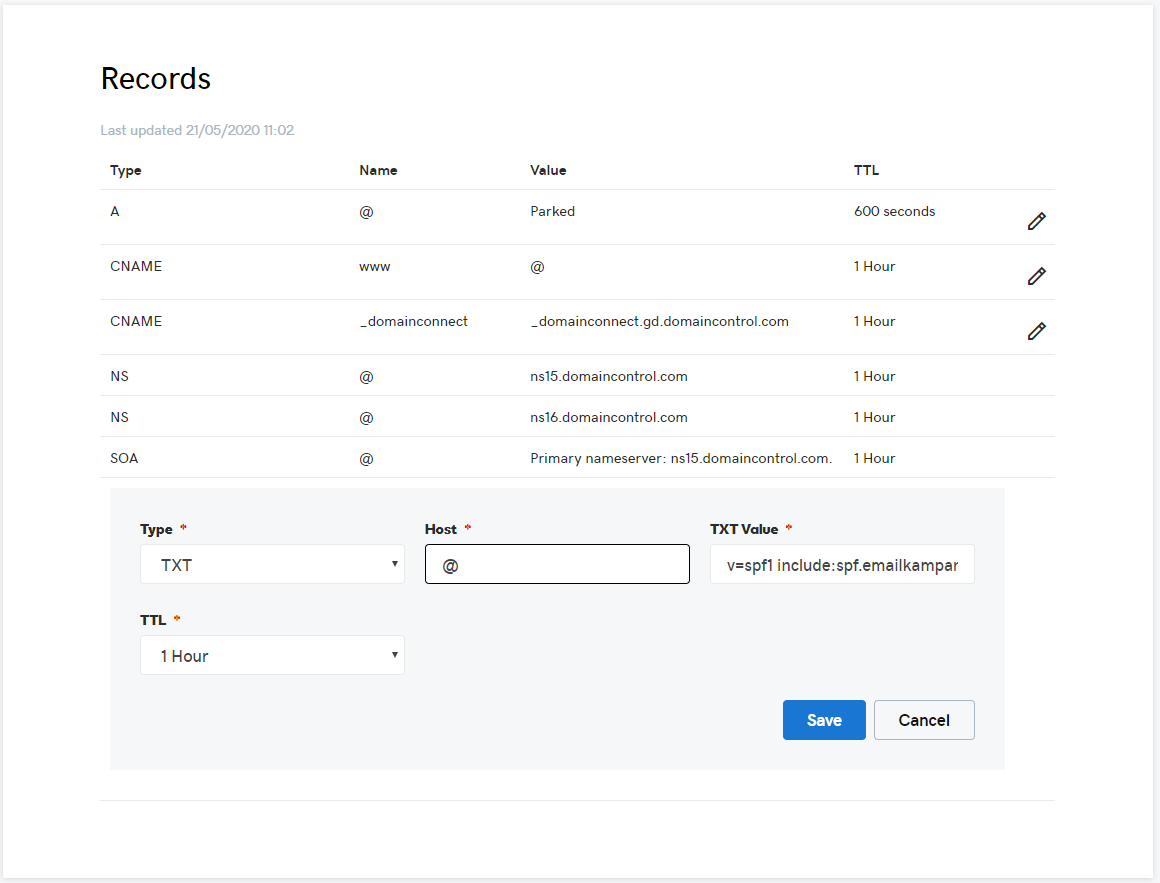
To set the SPF, do the following:
Type select TXT
Enter the following text in the Host field: @
In the Points to field enter: v=spf1 include:spf.emailkampane.cz ~all
DMARC
Repeat the previous two steps again to fill in all the values in the following chart:
| TYPE | RECORD* | VALUE | |
| SPF | TXT | v=spf1 include:spf.emailkampane.cz ~all | |
| Custom domain | CNAME | click | click.emailkampane.cz |
| DMARC | TXT | _dmarc | v=DMARC1; p=none |
| DKIM | CNAME | ek01.domainkey | dkim.emailkampane.cz |
After setting up DNS records, it is important to check them. Keep in mind that the changes may not take effect immediately. After setting up DNS records, we recommend waiting at least an hour to verify that everything is working properly.